How to Remove a Photo Background Without a Watermark (Phone or Browser)
Free background removers stamp a watermark or shrink your photo. Three ways to get a clean, full-size cutout with no watermark on iPhone, Android or the web.
You upload a photo to a "free" background remover, the cutout looks great, and then the download has a watermark across the corner. Or it comes back at 500 pixels wide with a button that says "HD for $9.99". So you search for a watermark remover, which is how one of the fastest-rising searches next to "background remover" this year became watermark remover. That is a loop worth stepping out of.
This guide covers three ways to remove the background from a photo without a watermark, at your photo's full size, for free. Two of them are already built into your phone. The third works on iPhone, Android and any computer with a browser, and never uploads the photo anywhere.
Why "free" background removers add a watermark
Most online removers run the AI on their own servers. Every photo you send costs them GPU time, and the watermark or the 500 px limit is how they get paid back: you either upgrade or you live with the stamp. It is not a technical limit. The model produced a full-size cutout; the site chose not to give it to you.
The tools below skip that problem because the cutting happens on your device. There is no server bill to recover, so there is nothing to hold back.
Method 1: the built-in cutout on iPhone
Since iOS 16, every iPhone can lift a subject out of a photo with no app at all.
- Open the photo in the Photos app.
- Touch and hold the main subject. After a moment a white outline glows around it.
- Lift your finger and tap Copy Subject or Share.
- Paste it into Messages, Notes, Mail or any app that accepts an image. What lands is a PNG with a transparent background.
Good for: a quick sticker or a cutout you will paste straight into a message.
Limits: there is no way to fix the edges when it grabs too much or too little, no way to put a colour or another photo behind the subject, and no "save as PNG to Photos" button. Photos will save the pasted result as a flattened image with a white background if you go through the wrong app.
Method 2: the built-in cutout on Samsung and other Android phones
Samsung Gallery has the same trick from One UI 5 onward. Open a photo, touch and hold the subject, and a Copy and Share menu appears with the background already gone. Some other Android skins have copied the idea, but it is not part of stock Android, so a Pixel or a Motorola will not do it from the gallery.
Limits: the same as the iPhone version. No edge touch-up, no background swap, and the output lives on the clipboard rather than in your files.
Method 3: a remover that runs on your device, on any platform
This is where BG Remover comes in. It is a free background remover from our studio that keeps the whole job on your phone or in your browser tab:
- No watermark, ever. The download is the same cutout the model produced.
- Full size. A 12-megapixel photo comes out as a 12-megapixel PNG.
- No upload. On iPhone it uses Apple's Vision engine, on Android it uses Google's ML Kit, and in the browser the model runs inside the page. Your photo never leaves the device.
- No sign-up, no credits, no daily limit.
It is on the Play Store and the App Store as a phone app, and at bgremover.riekapps.com for a laptop or desktop. Both are linked from the app page.
Removing a background on the phone app
- Open BG Remover and tap the + in the middle of the bottom bar, then pick a photo. You can also share a photo to BG Remover straight from your gallery.
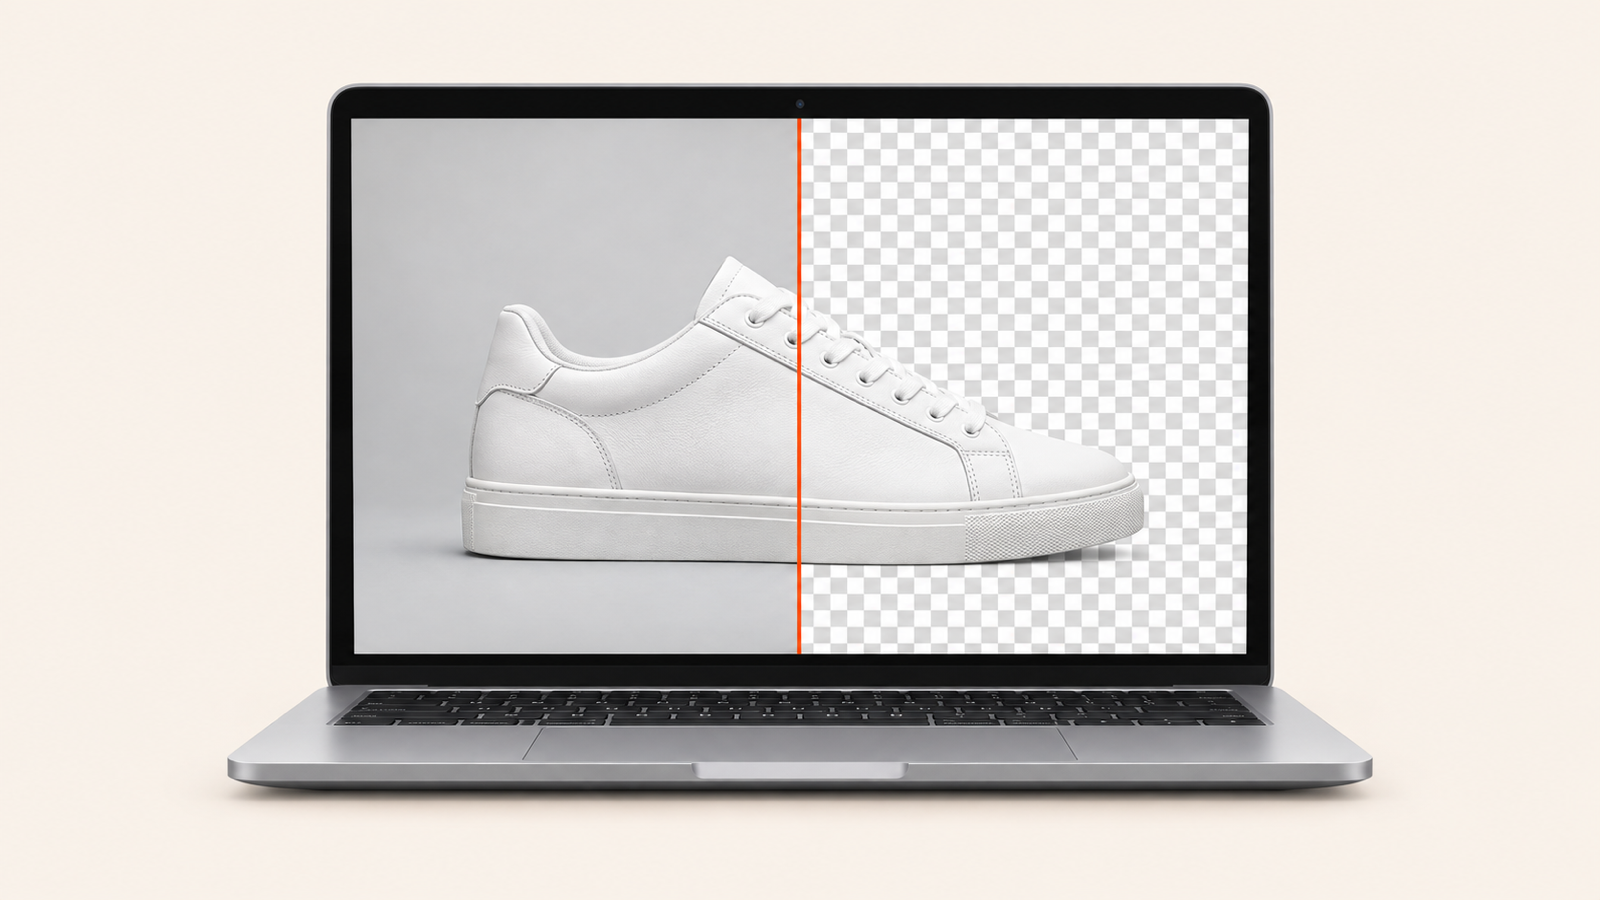
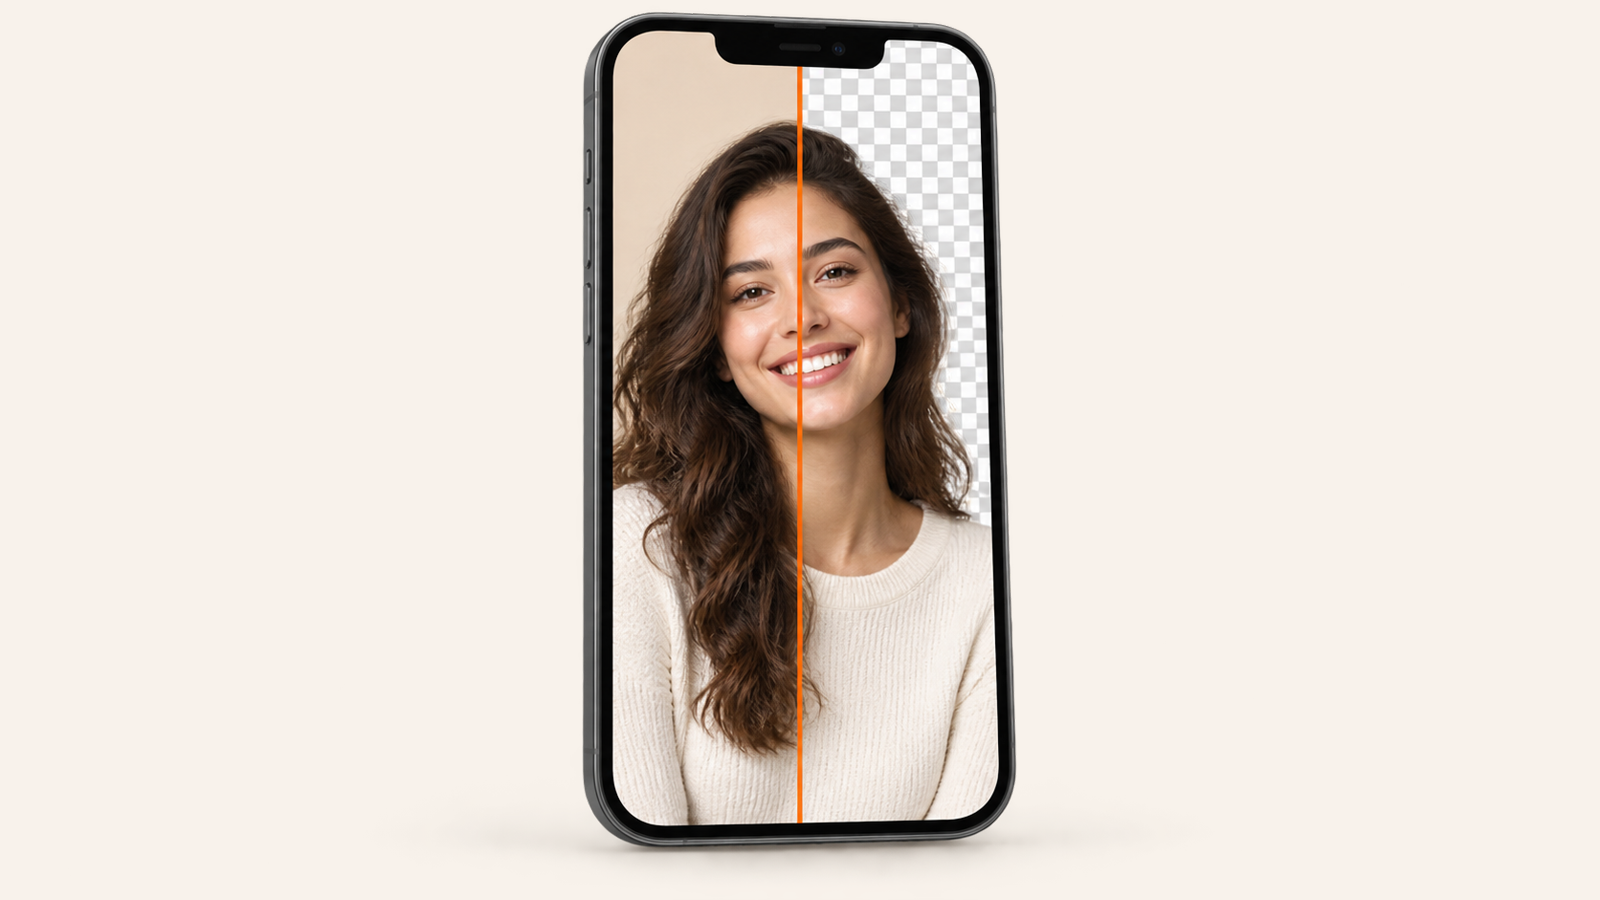
- Wait a second or two. An orange line sweeps across the photo and the background dissolves to a checkerboard.
- Hold your finger on the image to compare with the original. Pinch to zoom in on the edges.
- Pick a background from the strip at the bottom: transparent, white, black, a colour, or a soft blur of the original.
- Drag the Soft edge slider if the outline looks too hard against the new background.
- Tap Save. Transparent results are saved as PNG; a solid background is saved as JPEG so the file stays small. Or tap Copy and paste it straight into another app.
Removing a background in the browser
- Open bgremover.riekapps.com and drop a JPG, PNG or WebP on the page, or paste one from the clipboard.
- The first visit downloads the model (about the size of a short video), after that it is cached and each photo takes a few seconds.
- Use the Erase and Restore brushes for anything the AI got wrong, with undo.
- Choose transparent, a colour, a blur, or upload your own background photo.
- Click Download for a full-size PNG, or Copy to put it on the clipboard.
What about Nano Banana and other AI image editors?
Gemini's image model, which everyone calls Nano Banana, has become a popular way to "remove the background" by asking for it in a sentence. It works, but it is doing a different job. A generative editor repaints the picture, so the face, the fabric and the small details can shift a little, and the photo is uploaded to be processed. A background remover segments the original pixels, so the subject is exactly the one you photographed. For a product shot, a profile picture or anything where the subject must stay true, segmentation is the right tool. For turning your dog into an astronaut, use the generative one.
Getting a clean edge
Any remover, built in or not, does better with a few things on your side:
- Contrast helps. A dark jumper against a light wall cuts cleanly. Dark hair against a dark doorway does not.
- Hair and fur are the hard cases. Zoom in and use the restore brush to bring back wisps the model dropped, and the soft edge slider to hide the halo.
- Glass, smoke and thin straps are often half-transparent in real life, so the model has to guess. Restore what you want to keep.
- Shoot a little wider. A subject that touches the frame edge gives the model less to work with.
PNG or JPEG?
If you want the background to stay see-through, for a sticker, a logo mock-up or a layer in another editor, you need PNG. JPEG has no transparency, so a transparent cutout saved as JPEG gets a white background. If you have put a solid colour or a photo behind the subject, JPEG is fine and the file is a fraction of the size. BG Remover makes that choice for you: transparent goes out as PNG, everything else as JPEG.
Frequently asked questions
Is there really no watermark on the free version?
There is no paid version. BG Remover has one tier, it is free, and nothing is stamped on the output.
Does the photo get uploaded?
No. The cutting runs on the phone or inside the browser tab. Nothing is sent to a server, which is also why it works in aeroplane mode once the app is installed.
Why is the cutout jagged or missing a piece?
Low light, low contrast, and subjects that blend into the background are the usual reasons. Try the restore brush in the browser version, or the soft edge slider in the app, and where you can, retake the photo against a plainer background.
Can I remove the background from a GIF or a video?
Not in one step. Removers work on a single frame. For a short GIF you can export the frames, cut each one, and rebuild the animation, but for video you want a dedicated video editor with a subject-tracking tool.
What size can the photo be?
The phone app works on the full photo up to 4096 pixels on iPhone and 3072 pixels on Android, and the browser version downloads at your photo's original size.
That is the whole trick: pick a remover that does the work on your device, and the watermark problem disappears along with the background.