How to Make a Wedding Seating Chart
How to make a wedding seating chart in seven steps: when to start, how many guests fit per table, who sits with whom, the rules that avoid drama, and what to print.
To make a wedding seating chart, you need three things in this order: the final guest list with RSVPs, the venue's floor plan with real table sizes, and a list of who must sit together and who must not. Then you seat the head table first, the parents and grandparents second, and fill the rest by group, not by person. Done this way the chart for 120 guests takes an afternoon, not a week, and it survives the three late RSVPs that always arrive.
Here is the full process, with the numbers planners use, the etiquette questions that actually come up, and the free wedding seating chart maker we built so you can do it in a browser instead of on the living-room floor.
When to make a wedding seating chart
Build the room as soon as you have the venue's layout, usually three to four months out, because the number of tables decides how many centrepieces, linens and place cards you order. Seat the guests one to two weeks before the wedding, after the RSVP deadline has passed and you have chased the stragglers. Hand the final chart to the venue and the caterer no later than three days before. Anything earlier than that and you will redo it; anything later and the kitchen cannot plate by table.
Step 1: lock the guest list and collect the data you need
Put every guest in a spreadsheet with one row per person, not per household, and these columns: name, group, RSVP, meal, note. "Group" is the family or friend circle ("bride's cousins", "work, groom", "college friends"); it is what you will seat by. "Note" holds the things you do not want to forget at 11 pm: wheelchair, high chair, nut allergy, "not next to Uncle Pete". Plus-ones get their own row, as "Guest of Anna Lee" until you know the name. If the list already lives in Excel or Google Sheets, keep it there; you can import the CSV later.
Step 2: get the floor plan and count real seats
Ask the venue for the floor plan with table positions and sizes, and for the number of chairs they actually set per table, which is often one less than the brochure says. The standard capacities:
- 60-inch (150 cm) round: 8 guests comfortably, 10 if the venue squeezes.
- 72-inch (180 cm) round: 10 guests, 12 is tight.
- Long banquet tables: one guest per 24 inches (60 cm) on each side, so an 8-foot (240 cm) table seats 8, plus 2 at the ends if the ends are free.
- Head table: a long table seats the couple and the wedding party on one side only, so count half the usual number.
Divide your guest count by the real seats per table and add one spare table. A 120-guest wedding on 60-inch rounds is 15 tables of 8, or 12 of 10 plus a spare. The spare table absorbs the late yeses without reshuffling everyone else.
Step 3: decide the head table
Three common options, and none is wrong:
- Sweetheart table: just the two of you. Easiest to seat; the wedding party sits with their own partners.
- Head table with the wedding party: the long table facing the room. Decide early whether their partners sit there too; if not, seat the partners together at the nearest table.
- Family table: the couple with both sets of parents and grandparents. Works when the wedding party is large.
Step 4: seat parents, grandparents and VIPs
The tables closest to the head table go to the parents. Each set of parents usually hosts a table of their closest family and friends. Grandparents and older relatives sit close to the couple and away from the speakers and the dance floor. If parents are divorced, give each parent their own table with their own people rather than seating them together to look harmonious. Guests who use a wheelchair sit at the end of a row with a clear path to the exits and bathrooms.
Step 5: fill the room by group, then fix the exceptions
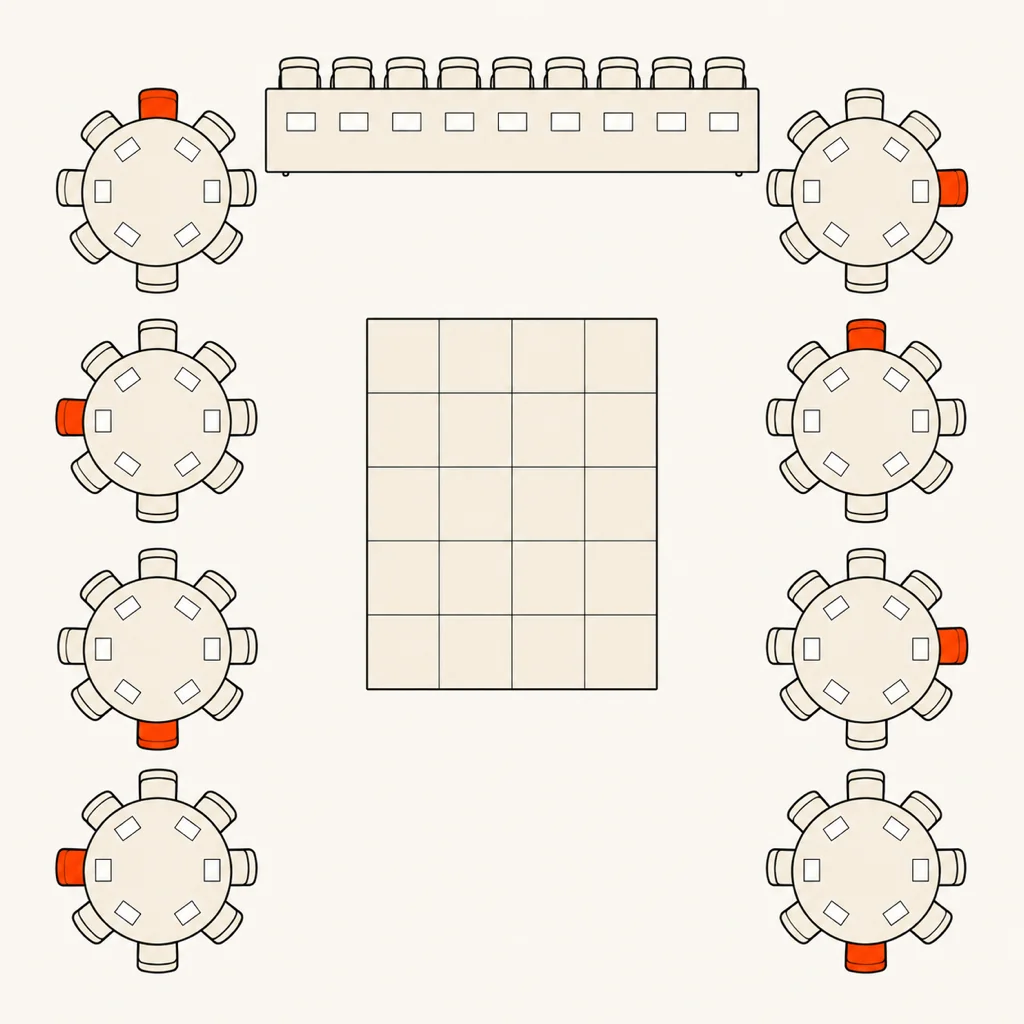
This step takes forever name by name and twenty minutes by group. Give each group from your spreadsheet a table or a pair of tables. Groups of 5 or 6 share a table with another small group that has something in common: same age range, both sides' work friends, the two sets of neighbours. Never seat a guest at a table where they know nobody. If you must split a group, split it in halves of at least three.
A few questions that always come up:
- Singles: do not make a "singles table". Seat each single guest with people they know, and make sure at least one other person at the table is also there without a partner.
- Kids: under about ten, children sit with their parents. Older kids and teens can have their own table near their parents' tables, which they usually prefer.
- Exes and feuds: different tables, out of each other's sightline where you can manage it. Write the rule down so it survives the reshuffle.
- Mixing the two families: only where people already know each other or are the same age. A table of strangers in their thirties mixes fine; a table of strangers in their seventies does not.
In the seating chart maker, these become "keep together" and "keep apart" rules you set once. Auto-seat fills the empty seats by group while leaving every seat you placed by hand alone, and the planner warns the moment a rule is broken, which is how the exes stay apart through revision number six.
Step 6: handle the late changes without starting over
Expect three to five changes in the final week: a couple splits up, a cousin brings a new partner, someone gets sick. Because you seated by group and kept a spare table, each change is one move. A cancellation leaves a hole you either leave (an empty seat is fine) or fill from the spare table; a new plus-one takes a seat from a table that was at 10 and is happy at 9. Keep the list and the chart in one place so the catering count changes with the seat.
Step 7: print what each person needs
Four printed pieces come out of the finished chart, and they are for different readers:
- The seating chart poster at the entrance, in A1 or A2 for 100+ guests, A3 for a small wedding. Over about 80 guests, list names alphabetically by last name with the table number beside each; under that, listing by table is friendlier because guests see who they are sitting with.
- Place cards on the tables, if you assign seats and not just tables. Fold-over cards, four to a sheet.
- A table-by-table list for the venue coordinator, so staff can walk a lost guest to their chair.
- A catering list with meal choices and allergies per table, for the kitchen.
For a ready layout, start from a wedding seating chart template: the Simple template prints free, and the print pack (five designed templates, poster sizes A1 to Letter, place cards, both lists and the catering list) is a one-time €9.90 with unlimited re-downloads. Planning, importing from Excel, auto-seat and CSV export are free with no account, and nothing leaves your browser.
Common questions
How long does it take to make a wedding seating chart?
About two to four hours for 100 to 150 guests if the guest list is clean and you seat by group. Most of the time goes into the ten hard cases, not the hundred easy ones.
Alphabetical or by table?
Alphabetical by last name above about 80 guests, because people find themselves in seconds and the line at the entrance moves. By table below that, so guests see their tablemates.
Can I make a wedding seating chart in Excel?
Yes, and many people start there. The trouble begins at the first change, when the table list, the alphabetical list and the catering count all have to be edited by hand. Keep the list in Excel, import it into a planner for the seating itself, and export back when it is final.